ButterMyBiscuits Etsy Shop

Friday, June 21, 2013

Blue Willow Churchill England China

So I was totally attracted to this cup in the thrift store. Had to buy it for 99 cents...and looked it up. I guess it's not that amazing, but it's Made in England and it's called Blue Willow China...and apparently worth a little more than a dollar. Yay! And now drinking coffee in the morning feels special. That's all that matters I guess.


Cruise Nails!

Okay, so I know I tend to lean towards black stripes on any color...gives that zebra print effect. Anyways, couldn't resist on this new color, Sonic Bloom, Sally Hansen.


Wednesday, June 19, 2013

Binocular's Case

Easy sewing project when you need a little case or bag for something! This took about 20 minutes to make...if you're a better seamstress than me, then you can probably whip it up faster...seeing as how I don't measure things and pinning this before I sewed it was a miracle.


So my husband and I bought a pair of $10 binoculars to take on our cruise...they are actually pretty good for $10! (walmart...go figure) So he asked if could make a little carrying case for them...of course I loved the idea. 

So I cut a chunk of this awesomely thick padding...it's not 'batting', I wish I knew what it was but anyways. I cut a piece of nice thick fabric and folded in all the edges. To keep them down, I ironed them, then stacked the two pieces together. I wanted this softer, thick fabric to be on the inside of the pouch to protect the binoc's. 

Here you can see how I folded it in...you could make two of these if you wanted the inside to be 'pretty'. 


Next I just stitched all around the perimeter. At the last minute I stuffed a loop of elastic to make a hoop attachment. 

Next I folded the bottom up like an envelope, checking to see that the binoculars would fit inside...then stitched that together. 

Last step was adding a large button to loop the elastic around. Tada! Easy pouch/bag/carrier for something. 

Singed Fabric Flower Tutorial

I made these for my bridesmaid's and one big one for me. I think they looked so pretty in their hair and these are fun and easy to make with an element of danger...oooh la la! Scary crafts!


Materials Needed: 
1 small votive candle
100% polyester fabric/ thrift store scarves
needle and matching thread
felt


Step 1: Find some 100% polyester fabric....this cream fabric I bought at JoAnn's and I just read the bolt and made sure it was polyester...although you can experiment with any fabric, you get the best results and no smoke from poly. I tried this with silk and it was too smokey and scary! 

Step 2: Cut your fabric into circles. You know me, I don't measure things...so guesstimate some big, medium and small circles. I'd say you'll use 5-10 circles per flower depended on how "full" you want your bloom to be. 


Step 3: Cut slits around your circles. 


Step 4: Hold one "petal" out over your flame. Use a small candle and you aren't actually putting this into the flame, just get it close enough to the heat to start "curling" your petals. Rotate around your flower until all petals are 'singed'. 


You can layer lacy netted/tulle fabrics in between to add fullness. 

Repeat until you have enough pieces to create the flower you want. 


Step 5: Making a backing....
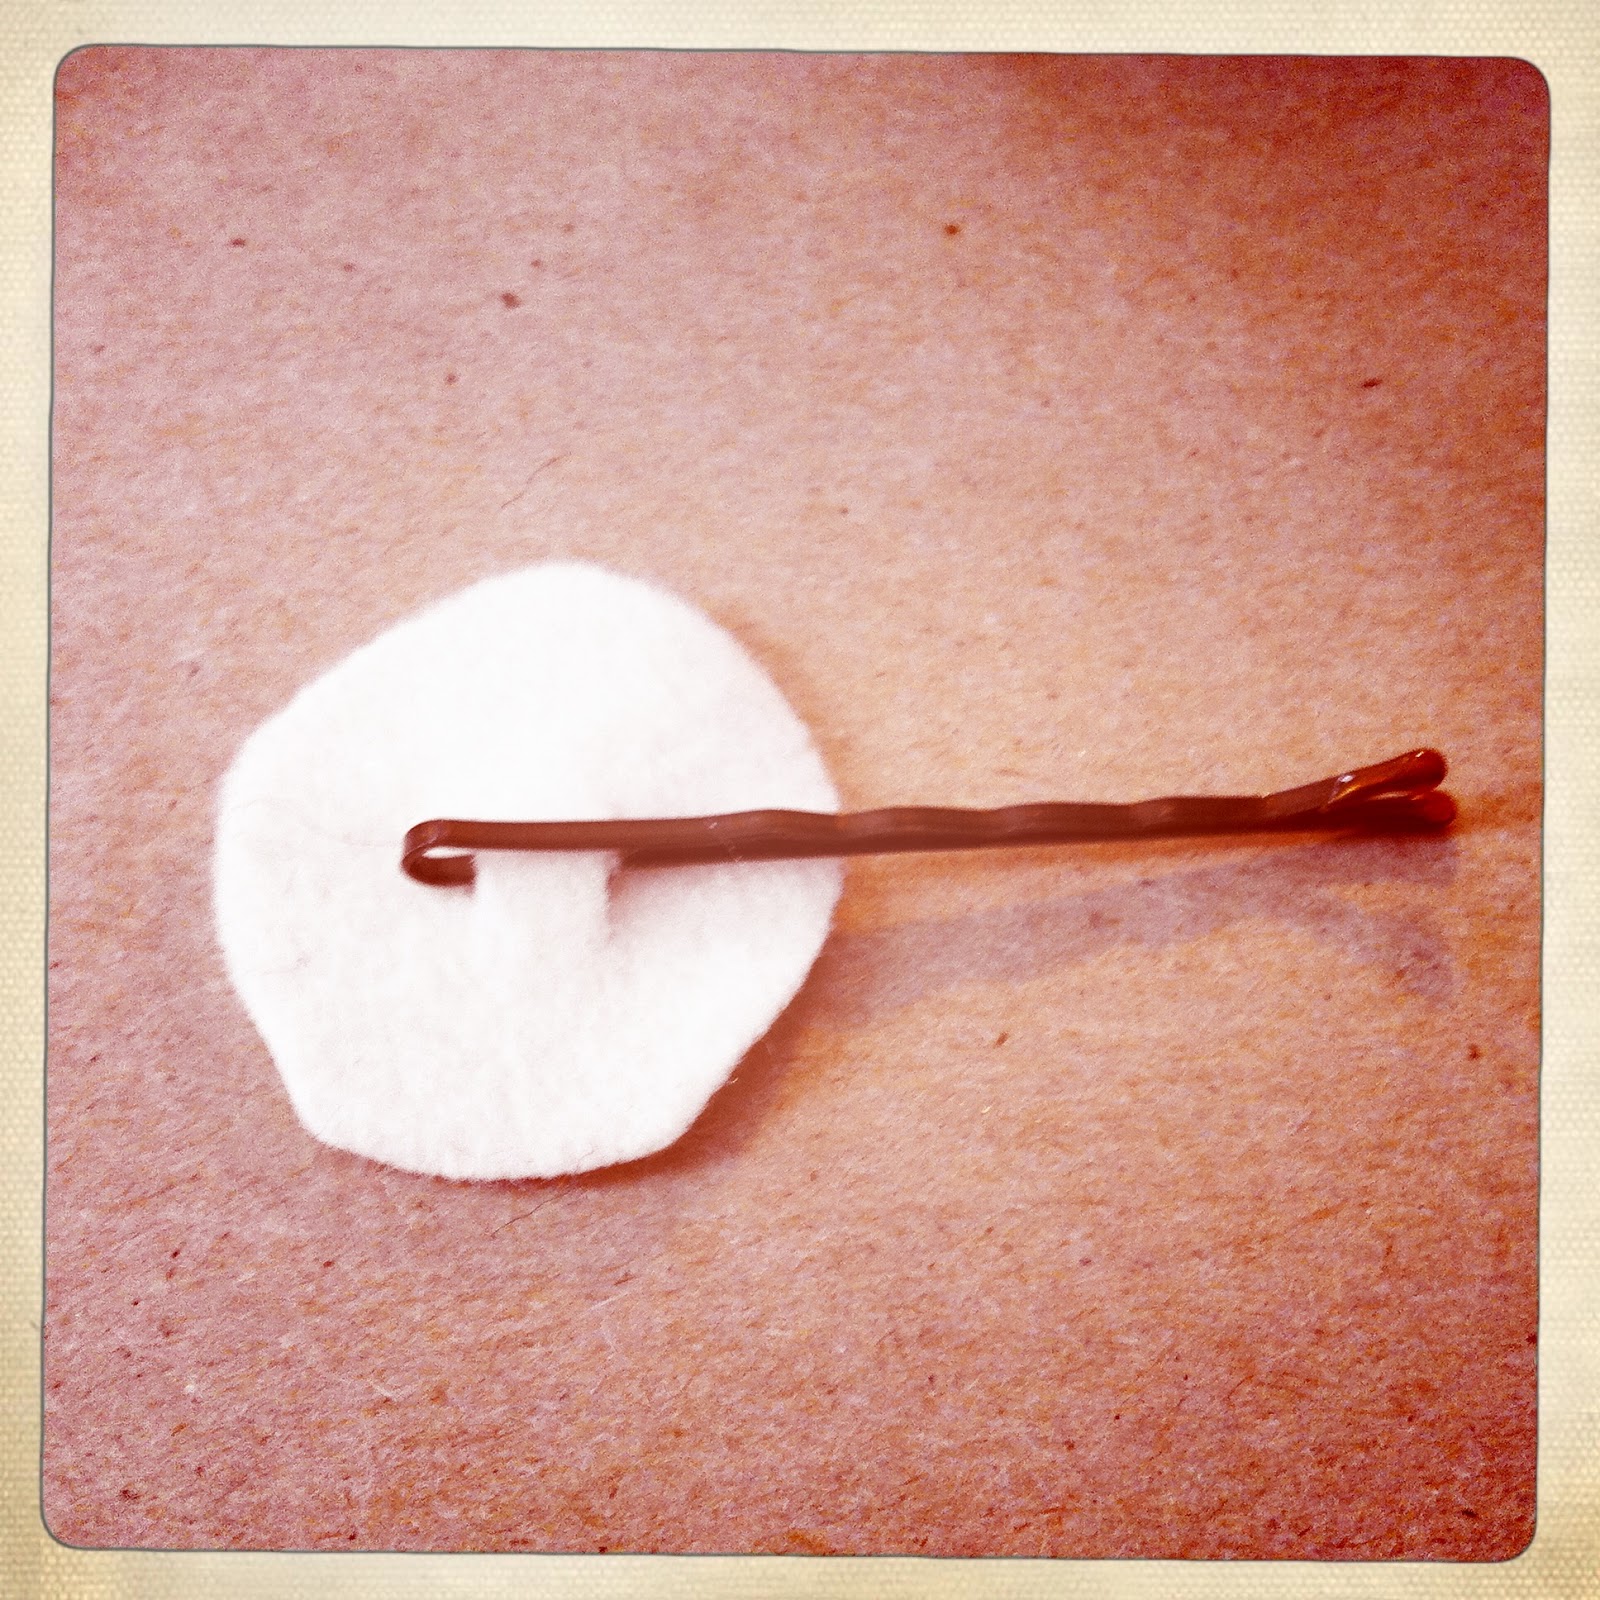
To make the back, cut a small felt circle and I cut two slits for a bobby pin to live in so you can attach easily to your hair. 

If this isn't a hairpiece, then just sew on your circle of felt and you can hot glue or stitch on a brooch pin. 


Sew your stack of petals to your felt. Don't worry about messy stitches because I ball up a piece of scrap to cover up the mess at the last minute. (See below on my colorful flower...)

And voila! Lovely fabric flowers!


Here's my newly discovered miracle...a sock bun....with my singed fabric flowers. 

I decided I needed another flower for my new orange dress...that I will be wearing the first night of our cruise next week! Woo hoo, Bahamas! Anyway, I made this one from an old scarf I had laying around from Goodwill...


Here's that bunched up fabric scrap I was talking about for the center at the last minute to cover up your stitches. I singed it a little, (carefully!) before I attached it. 


Lovely! Sock bun and all!


Thursday, June 13, 2013

Father's Day DIY

I always like to make my Father's Day cards...I think the handmade factor trumps the cheesy ones with ducks swimming peacefully through blue ribbony landscape accompanied by tacky cursive.

Anyway, this year I had some slick/thick paper laying around so I started making some random cards. I did some special "sewn" ones for my dad and stepdad and then made some more for next year I guess?

"tie and hammer"


Here's my dad's gift package...had to paint the cardboard box, of course. 

Here's his sewn felt card...

And here's the "packaging" with all his presents...I can't wait for him to get it!